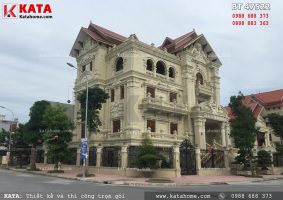
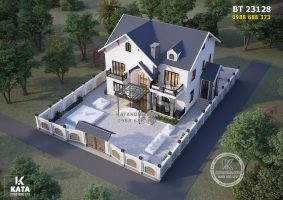
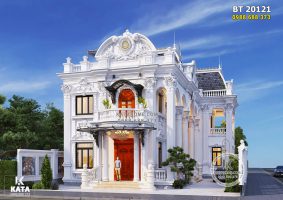
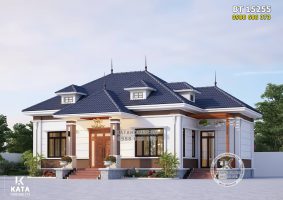
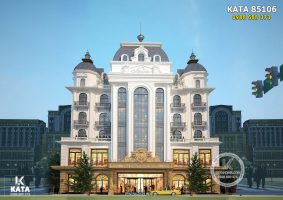
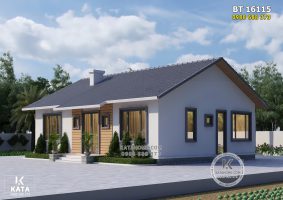
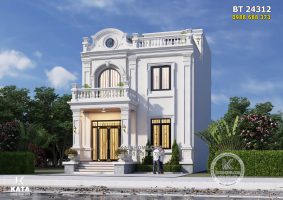
KataHome là công ty kiến trúc chuyên tư vấn thiết kế và thi công những mẫu biệt thự đẹp kiến trúc Pháp, kiến trúc tân cổ điển cho đến các dòng kiến trúc hiện đại, biệt thự mái thái 2 tầng. Thiết kế biệt thự được xem là thế mạnh của chúng tối với các mẫu mã đa dạng từ mẫu biệt thự 3 tầng đẹp kiến trúc pháp đến các mẫu biệt thự 4 tầng đẹp kiến trúc tân cổ điển được đánh giá là độc đáo, tinh tế trong thiết kế – chất lượng trong thi công hoàn hảo.

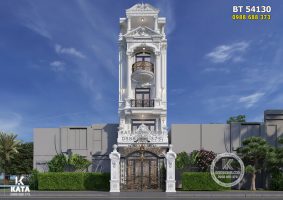

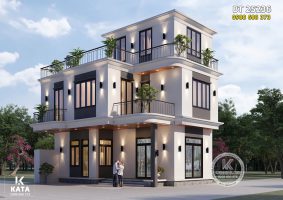
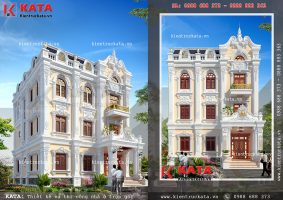
KataHome là công ty kiến trúc chuyên tư vấn thiết kế và thi công những mẫu biệt thự đẹp kiến trúc Pháp, kiến trúc tân cổ điển cho đến các dòng kiến trúc hiện đại, biệt thự mái thái 2 tầng. Thiết kế biệt thự được xem là thế mạnh của chúng tối với các mẫu mã đa dạng từ mẫu biệt thự 3 tầng đẹp kiến trúc pháp đến các mẫu biệt thự 4 tầng đẹp kiến trúc tân cổ điển được đánh giá là độc đáo, tinh tế trong thiết kế – chất lượng trong thi công hoàn hảo.


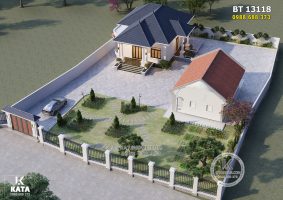
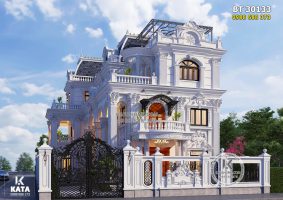
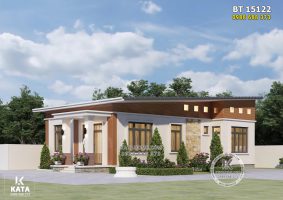
KataHome là công ty kiến trúc chuyên tư vấn thiết kế và thi công những mẫu biệt thự đẹp kiến trúc Pháp, kiến trúc tân cổ điển cho đến các dòng kiến trúc hiện đại, biệt thự mái thái 2 tầng. Thiết kế biệt thự được xem là thế mạnh của chúng tối với các mẫu mã đa dạng từ mẫu biệt thự 3 tầng đẹp kiến trúc pháp đến các mẫu biệt thự 4 tầng đẹp kiến trúc tân cổ điển được đánh giá là độc đáo, tinh tế trong thiết kế – chất lượng trong thi công hoàn hảo.